12 volt charging cable for the Jankapotamous laptop
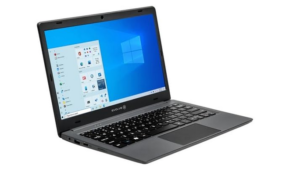
If you’ve been around ham radio for any length of time lately, you’ve probably heard of the infamous $60 “jankapotamous” laptop, made popular by Josh at Ham Radio Crash Course among others. While this little laptop falls well short of “great” and I would struggle to even call it “good,” it’s one redeeming quality is that it charges at 12 volts DC, so it’s an excellent choice for field operations because you can power it off the same batteries/power-supply that your run your radios from. No need for a separate inverter or generator.
I’ve been putting it off long enough, so today while I was stuck in a boring conference call for work, I whipped up a nice little charging cord for my jankapotamous.

One of the things I wanted to do was put an inline fuse in it, just in case. So I purchased this nice set of BOJACK fuse holders for that purpose. The fact that it comes with fuses is a nice bonus so I didn’t have to run out to the auto parts store and buy them additionally.
Another feature I wanted was to have power pole connections on one end, so that it’s compatible with most of my gear. I have several sets of alligator clips, from tiny little ones all the way up to car jumper-cable sized, with power pole connectors on the end so I can run various things from batteries. With the power pole connectors on this power cord I can use any of those alligator clips, or plug into a power pole distribution block as needed. I recently invested in a power pole crimper and it definitely makes life much easier than trying to crimp these with a regular wire stripper/crimper. I highly suggest if you’re going to do any volume of power poles you consider spending the money on the proper tool for the job.
One thing I needed to figure out for this was what size wires and fuse to use for this. The stickers on the jankapotamous and it’s wall-wart charger both indicate 2 amps, however after much searching on the internet to find the proper size wire it seems that there’s not much information available for such small power draws. Given the small size of the stock charging cord I decided 18 awg should be plenty hefty enough for the task. I then confirmed it by using this maximum wire length calculator set for 13.8 volts and 4 amps. With a 2% voltage drop it determined the maximum length should be 10.8 fee. I didn’t plan on making mine more than 6ft so 18 gauge is just fine in this application.
For the actual wires I prefer BNTECHGO silicon wrapped wire because it’s super flexible and uses tinned copper instead of the copper-clad-aluminum (CCA) that’s becoming more common these days. While CCA wire is cheaper and lighter for a given gauge it doesn’t conduct electricity as well as copper, and it’s not really suitable for wires that need to move a lot because the aluminum gets brittle over time and can eventually break or split. I went with this BNTECHGO 2-conductor wire for my jankapotamous charging cord.
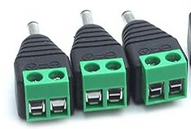
So that just leaves us with the connector on the computer end. Now I could have bought an extra wall-wart charger for the jankapotamous and cut the transformer off and used that wire, but that seemed like an awful waste to me. Using my handy calipers I measured the existing plug and came up with 3.8mm outside diameter and 1.45mm inside. Doing some looking online and asking in the HRCC Facebook group it was determined that the actual size is 3.5×1.35mm. Rather than buying a connector with a pig tail and having to solder or crimp those wires to the rest of the wire, I decided to go with a screw-terminal connector so I could just screw the wires in.
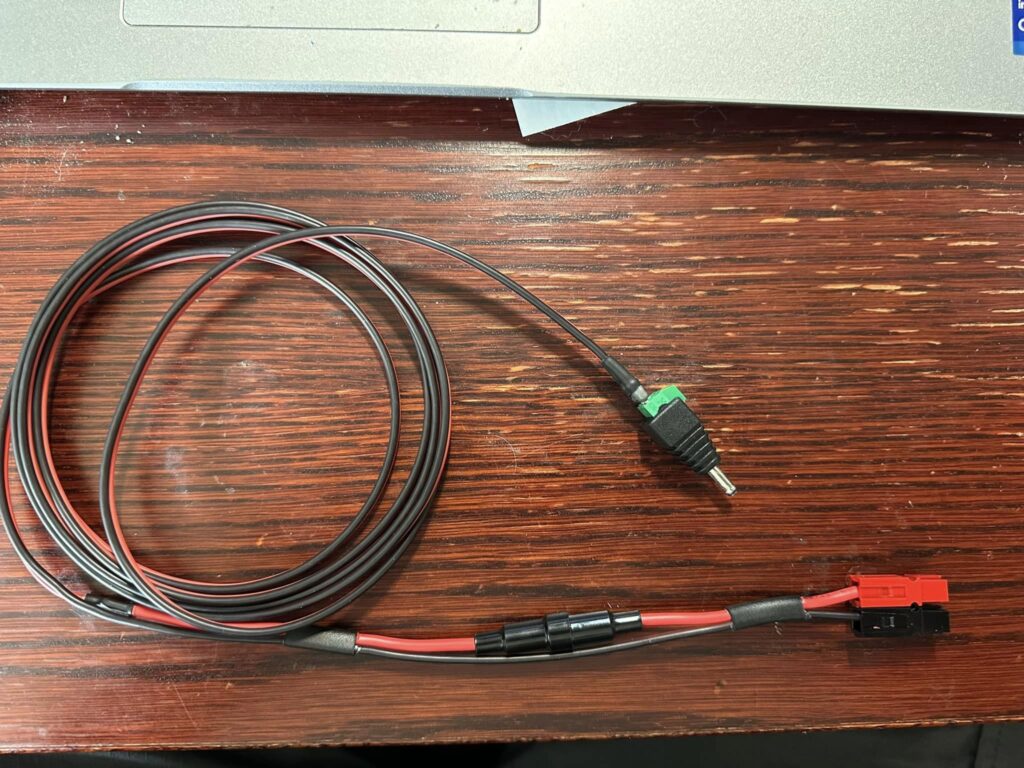
To wrap it all up and put it together, I took a length of wire the size of my arm-span which should be close enough to 6 feet. On one end I put the power-pole connectors, and from the other end I stripped off a length of the red wire equal to the length of the inline fuse holder. Then I soldered the fuse holder in place and used a couple short pieces of heat-shrink tubing to cover the joint and hold the fuse wire in place. Now I don’t know about you but I don’t really like putting bare wires into a compression fitting like on these connectors, so I put a set of ferrule tips on the bare wires before inserting them into the screw terminals.
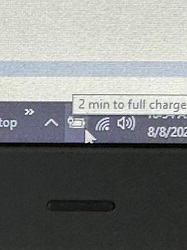
Finally I put a 4 amp fuse in the fuse holder and plugged the cable into my power pole distribution block and then into the laptop. The computer showed it was charging so everything was working as it should. Overall I was happy with the way the charging cord worked out and that I was able to get it finished before the end of my conference call.